
Why Are My Solar Garden Lights Dim? 6 Easy Troubleshooting Fixes
Are your solar garden stakes producing a faint, disappointing glow instead of warm ambient illumination? Solar garden lights usually dim because dirty photovoltaic panels block sunlight, NiMH rechargeable batteries have degraded after 12–24 months, or nearby ambient lights trick the dusk-to-dawn photodiode sensor. Cleaning the solar panel with a damp microfiber cloth and replacing old batteries after 1 to 2 years will instantly restore full nighttime luminescence.
Visual Diagnostic Flowchart for Fading & Dim Solar Lights
- Do the lights turn on briefly at dusk but fade completely within 1 to 2 hours? → Yes: Inspect panel surface cleanliness and test battery capacity. Aged NiMH batteries maintain basic voltage but lose current capacity.. No: Proceed to immediate brightness evaluation..
- Are the lights visibly faint immediately as night falls? → Yes: Check if solar panels are covered in dust, pollen, or tree sap, or if garden foliage casts shadows during solar peak hours (10 AM - 4 PM).. No: Check dusk-to-dawn sensor placement..
- Is there a streetlight, porch light, or landscape floodlight shining near the fixture? → Yes: Reposition the solar panel or stake. Artificial light tricks the internal photodiode sensor into operating at reduced power or shutting off completely.. No: Inspect battery contacts for white/green oxidation or moisture intrusion inside the transparent housing..
Master Troubleshooting Matrix: Failure Modes & Solutions
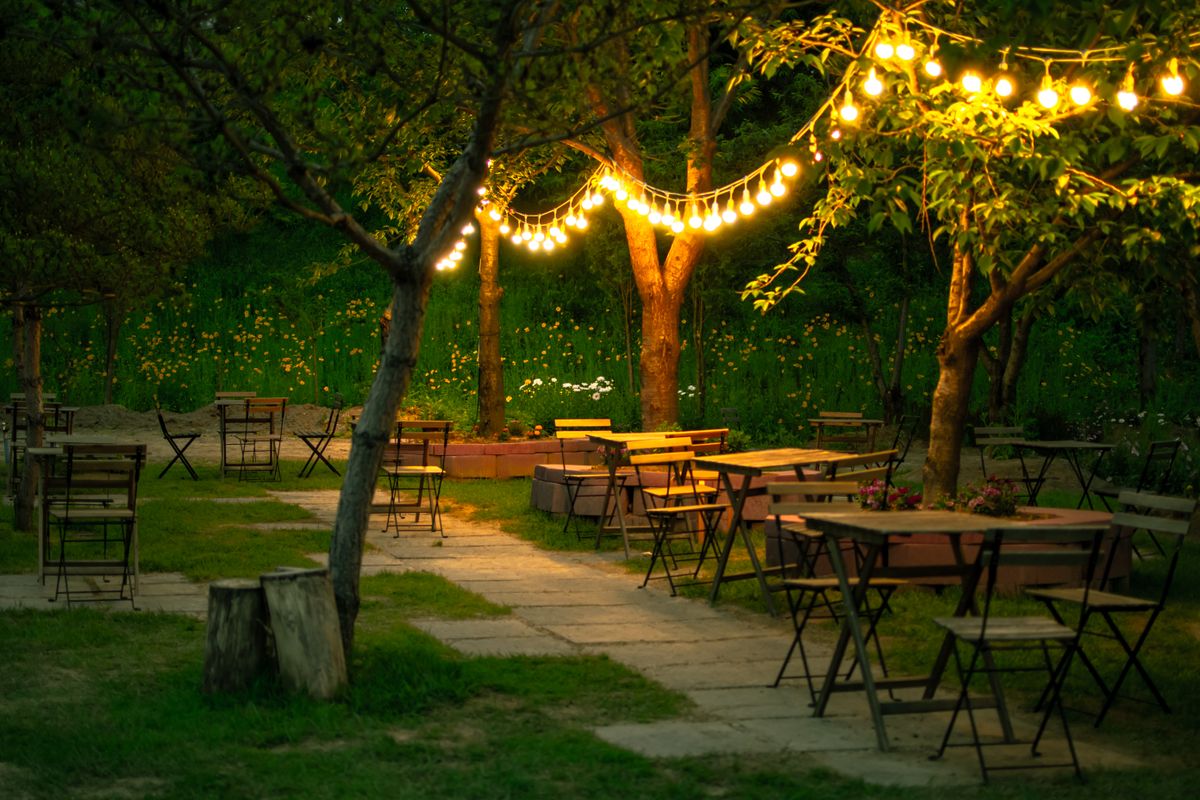
Photo by Constantine Kim on Pexels
| Failure Mode / Symptom | Root Cause | Diagnostic Check | Immediate Solution |
| --- | --- | --- | --- |
| Faint amber glow that dies within 2 hours | Sulfated or degraded NiMH rechargeable battery | Check battery age (over 18 months) or test output voltage with a multimeter | Replace with a fresh 1.2V AA/AAA NiMH rechargeable battery (never use standard alkaline) |
| Dull output despite full summer sunlight | Photovoltaic panel cloudy due to dust, pollen film, or UV hazing | Wipe panel with damp microfiber cloth; inspect for yellowed or chalky plastic | Deep clean panel with warm soapy water or apply clear UV-resistant acrylic spray |
| Flickering or intermittent dimness in wind | Corroded battery contact springs or loose stem wire connection | Open battery compartment and check terminals for white or green crust | Gently scrub corrosion off terminals using 400-grit sandpaper or isopropyl alcohol swab |
| Lights turn on dim and turn off when house lights turn on | Dusk-to-dawn photodiode sensor receiving artificial ambient light | Cover the solar panel with dark cloth at night to test raw LED brightness | Relocate stake away from exterior floodlights or shield photodiode sensor |
| Water droplets visible inside transparent LED casing | Worn rubber gasket seal leading to circuit resistance and shorts | Gently shake fixture to check for trapped condensation under optical lens | Dry interior thoroughly, lubricate rubber gasket with silicone grease, or replace unit |
| Stems in flower bed cast shadows over solar collector | Overgrown summer foliage blocking direct solar radiation | Observe shadow patterns on solar collector at 12:00 PM and 3:00 PM | Prune surrounding perennials or elevate solar collector module above canopy |
When landscape lights lose their warm glow, identifying the exact symptom prevents unnecessary hardware replacement. This failure mode matrix maps symptoms directly to underlying electrical and environmental causes.
Pro Tip: Restoring Clouded Photovoltaic Panels with Clear Coat
Over several seasons in direct sunlight, the protective plastic resin over polycrystalline solar panels can oxidize, turning milky white and chalky. This hazing reflects up to 40% of incoming solar rays, starving your rechargeable batteries even on scorching summer days.
Instead of discarding the fixture, you can easily restore optical clarity in under ten minutes. Clean the panel surface thoroughly with isopropyl alcohol. Once dry, wet-sand the cloudy plastic with 2000-grit sandpaper using gentle circular motions until smooth. Wipe away residue, then spray a single light coat of clear UV-resistant acrylic gloss coat over the panel. The clear acrylic fills micro-scratches and cures into a crystal-clear shield, restoring light transmittance to nearly 95% of factory performance.
Seasonal Solar Light Performance Checklist
- Wipe solar panels clean with a damp microfiber cloth to remove dust, pollen, mud, and hard water spots.
- Inspect surrounding plants and tree canopies to ensure panels receive at least 6 hours of unshaded direct sunlight daily.
- Confirm that nearby artificial light sources (porch lights, floodlights, streetlamps) do not shine on the dusk-to-dawn sensor.
- Remove battery cover to inspect battery terminals for white or green corrosion.
- Verify NiMH rechargeable battery age (replace if older than 18–24 months).
- Perform a 72-hour deep reset: Turn switch OFF, let panel charge in sun for 3 days, then turn switch ON at night.
Repair vs. Replace Decision Framework
- Is the solar panel housing cracked, severely yellowed, or water-logged? → Yes: Upgrade Fixture: Internal circuit board corrosion makes battery replacement ineffective. Upgrade to modern weatherproof multi-LED stakes.. No: Proceed to battery and age assessment.
- Is the solar light fixture less than 2 years old with intact panel glass? → Yes: Replace Battery: Installing fresh 1.2V NiMH rechargeable batteries will fully revive your lights for a fraction of replacement cost.. No: Proceed to design comparison.
- Is your current fixture a single low-lumen rigid stake that lacks dynamic motion or wide coverage? → Yes: Upgrade to Solar Firefly Lights: Replace outdated rigid stakes with swayable firefly lights (4-Pack or 8-Pack) for a fuller, brighter garden display.. No: Deep clean panels and sand rusty contacts to extend current fixture service life.
Upgrade Option: High-Efficiency Solar Firefly Lights
If your old landscape lights are past their prime, upgrade your outdoor space with charming, weather-resistant illumination. Solar Firefly Lights are engineered specifically to overcome the dimness and fragility issues common in traditional solar stakes.
Why Homeowners Love Solar Firefly Lights:
- Firefly-Inspired Glow: Ultra-flexible stems sway naturally in the summer breeze, creating a magical firefly effect across your garden beds and walkways.
- Upgraded High-Efficiency Solar Collectors: Rapidly charge during the day even in partial sunlight, delivering reliable dusk-to-dawn illumination.
- Pack Sizes for Every Space: Choose the 4-Pack (32 warm LED bulbs) for cozy accent pathways or the 8-Pack (64 warm LED bulbs) for a dense, captivating landscape display.
- Outdoor Ready & Waterproof: Durable IP65-rated construction resists heavy rain, summer heat, and freezing frost without clouding or short-circuiting.
- Zero Wiring Needed: Simply press the stake into soft ground where the solar collector catches direct sunlight.
Summary of Core Maintenance Rules
- Dirty solar panels are the #1 cause of premature dimming—wipe them clean twice a season with a soft damp cloth.
- Rechargeable NiMH batteries degrade naturally after 300 to 500 charge cycles (12–24 months) and must be replaced.
- Never use standard non-rechargeable alkaline AA/AAA batteries; they will leak acid and permanently destroy solar circuit boards.
- Ambient light interference from streetlights or porch lamps tricks sensors into keeping LEDs dim or turned off entirely.
- Upgrading to modern multi-LED fixtures like Solar Firefly Lights provides superior brightness, weather resistance, and dynamic breeze movement.
5-Step Deep Cleaning and Battery Rehabilitation Method

Follow this step-by-step restoration guide to rehabilitate dim solar garden stakes and maximize their nightly illumination.
Step 1: Turn Off and Disassemble
Locate the master power switch on the underside of the solar module and flip it to OFF. Carefully twist or slide the upper solar module off the ground stake assembly.Step 2: Thoroughly Clean the Solar Panel Collector
Mix a few drops of mild dish soap into warm water. Soak a microfiber cloth and gently wipe away grime, dried rain spots, pollen, and sap from the solar collector surface. Dry thoroughly with a lint-free towel.Step 3: Inspect and Clean Battery Terminals
Remove the battery compartment cover. Take out the rechargeable battery and examine the metal contact springs. If you notice white or greenish oxidation, gently scrape it off using 400-grit sandpaper or a cotton swab dipped in isopropyl alcohol.Step 4: Test or Replace the NiMH Battery
Insert a fresh 1.2V NiMH rechargeable battery matching the original capacity (e.g., 600mAh to 1200mAh AA or AAA). Safety reminder: Never use disposable alkaline batteries in solar fixtures.Step 5: Perform a 72-Hour Hard Charge Cycle
Leave the power switch OFF and place the solar panel in a spot receiving full, direct sunlight for 3 full days (72 hours). This conditions new NiMH cells and deep-charges depleted batteries without drawing current at night. On the evening of the third day, switch the power back to ON at dusk.5 Common Mistakes That Accidentally Dim Solar Garden Lights
Avoid these frequent missteps that unknowingly reduce solar light output and shorten fixture lifespans:
Frequently Asked Questions About Dim Solar Lights
Clear answers to common questions about solar light battery life, panel maintenance, and outdoor performance.
Immediate Actions to Restore Your Outdoor Ambience
Your decision: Determine whether your dim solar lights suffer from simple panel dirt/shading, depleted batteries, or unrepairable internal corrosion.
Do this next: Wipe panel surfaces with warm soapy water and test batteries. If hardware is over 3 years old or severely corroded, upgrade to new weatherproof multi-LED stakes.
- Read next: How to Clean Outdoor Solar Light Panels for Maximum Year-Round Glow
- Read next: Solar Light Battery Care FAQ: How to Extend Lifespan & Maintain Brightness
If your existing solar lights are beyond repair, consider upgrading to Solar Firefly Lights (Available in 4-Pack or 8-Pack) featuring swayable flexible stems and high-efficiency solar collectors.
Take these next steps to diagnose your landscape fixtures or upgrade to brilliant, swaying accent lights.
Related Solar Light Care & Maintenance Guides
Provide internal links to relevant cluster pages.